
How to make Target Elastics - a woodworking plan
We have released our 6th woodworking plan for heirloom wooden games - How to make Target Elastics.
These plans are designed for intermediate woodworkers, helping you build skills, create a really quality finish and most importantly to create a lasting fun game for you to enjoy.
We thought you might like to know a little more about this game, what is included in the plans and the tools and skills you will need to complete the project.
Target Elastics
The basics
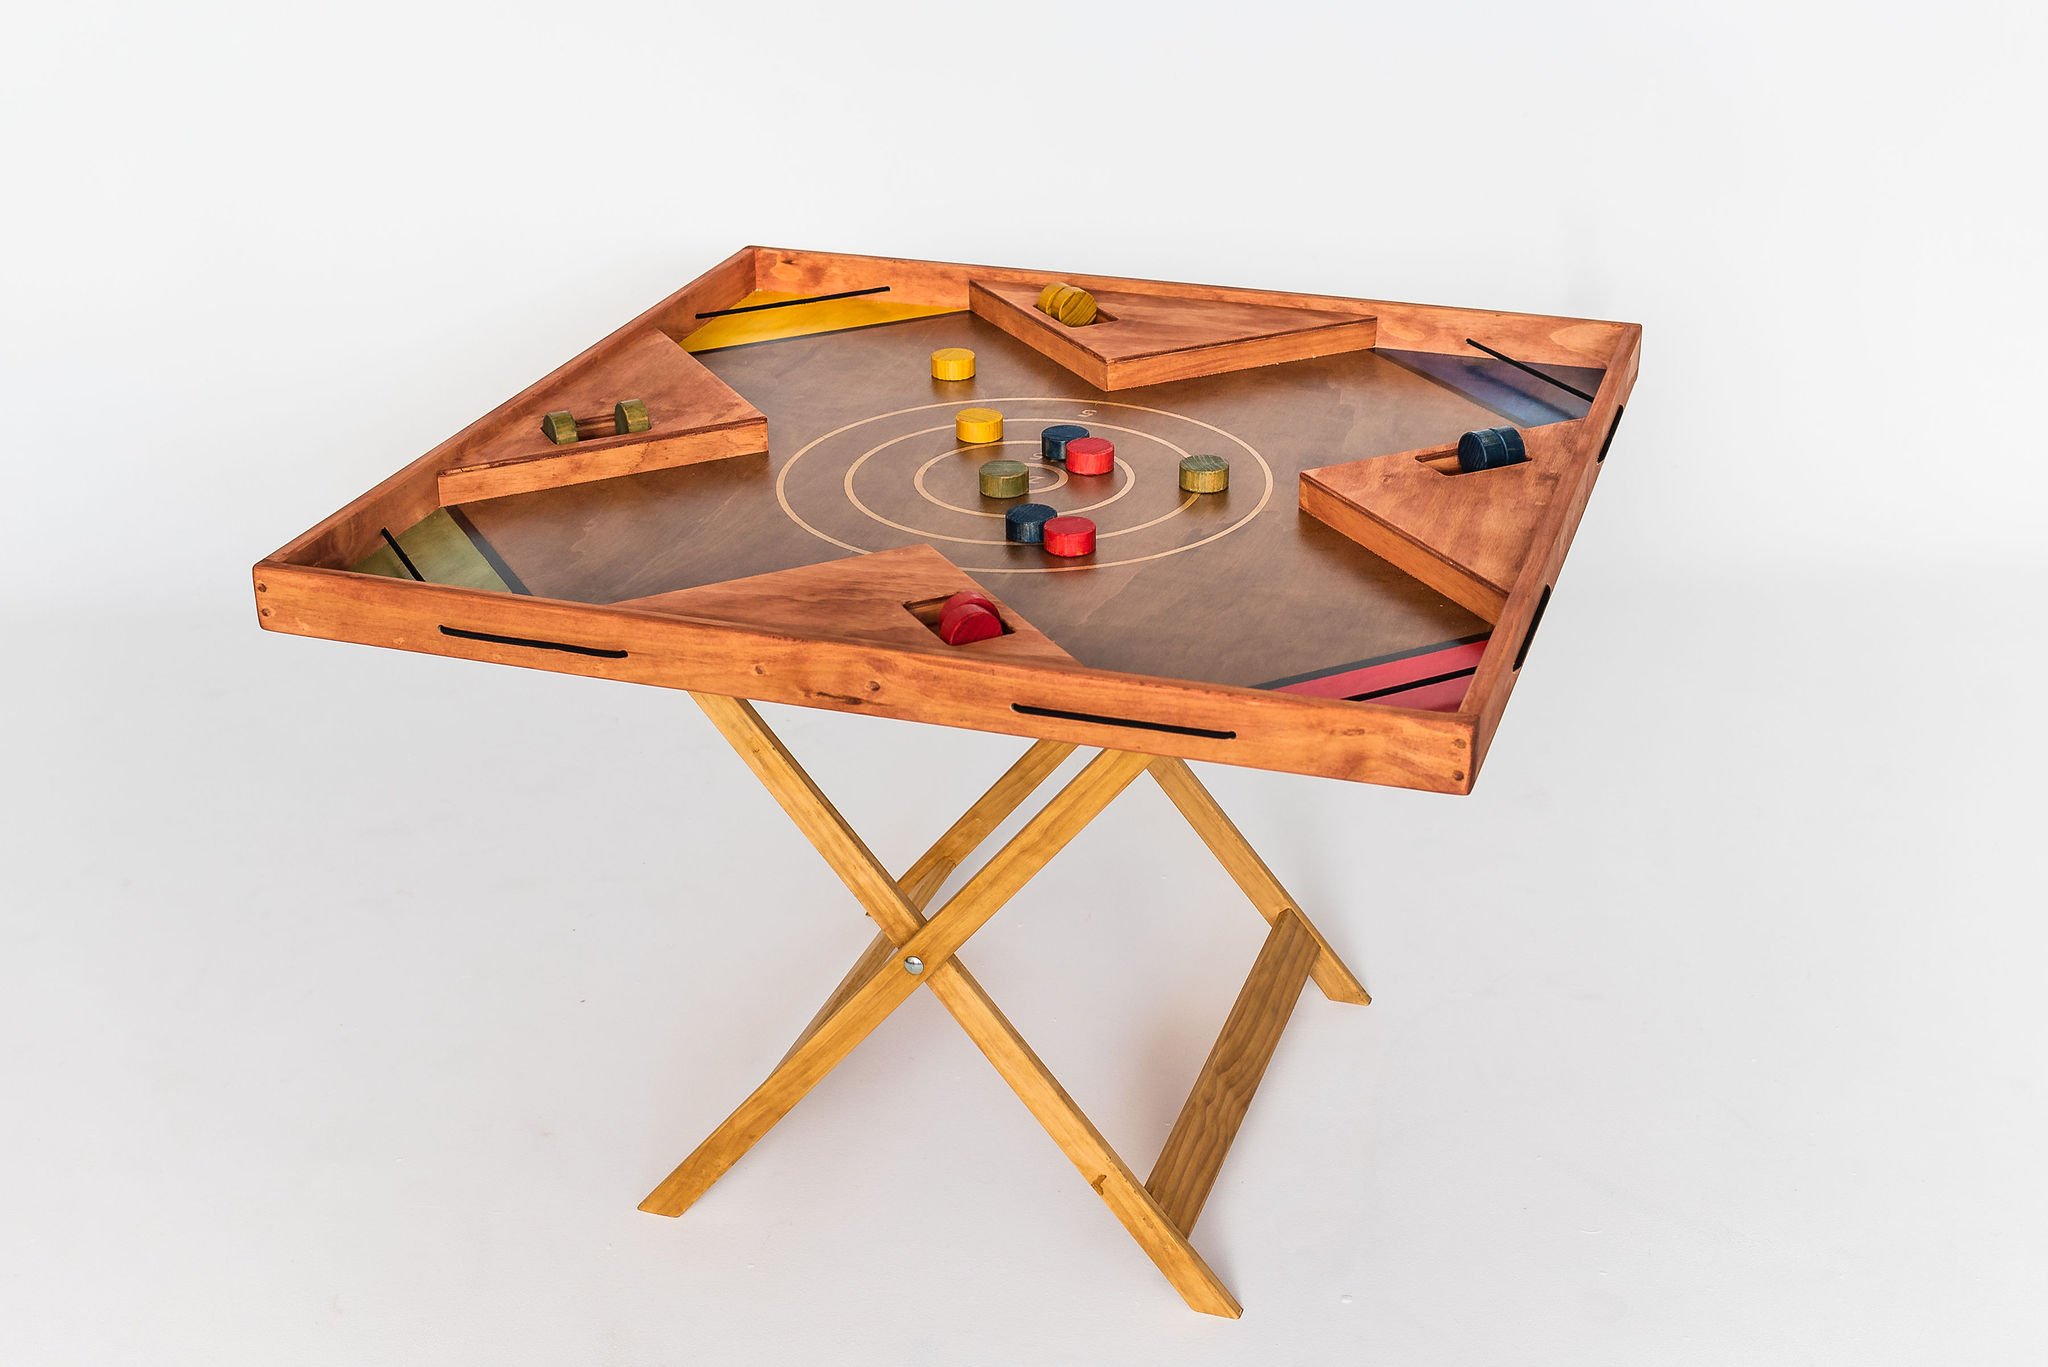
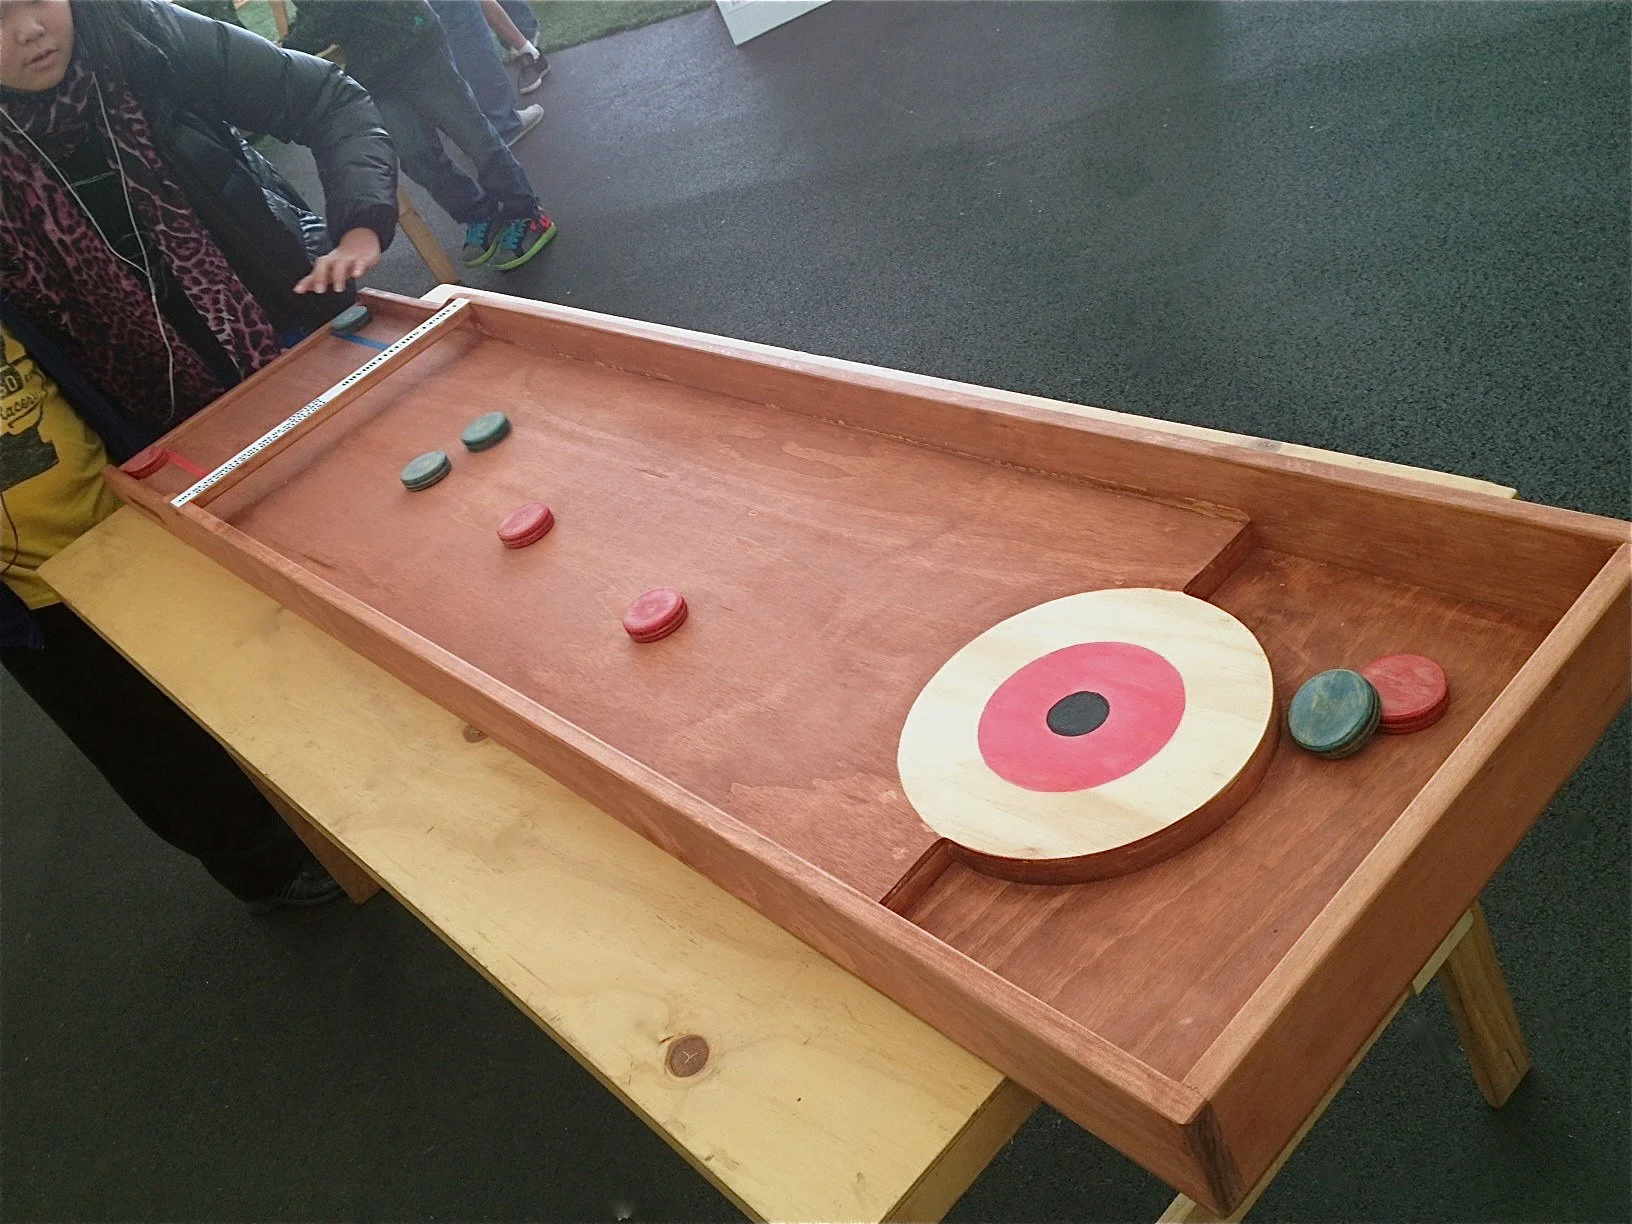
We call this game Target Elastics as it is a combination of a Target Shuffle board and Table Elastics. Grown from the desire to accommodate more players, it can be played with up to 4 players.
We make all our games from NZ pine (fsc) and reclaimed wood, in leiu of painting we recommend a natural wood stain finish is longer lasting and holds up well to wear and tear of play.
Dimensions: 110cm square.
What does the game include? 1 x board, detachable legs and 16 pucks (4 of each colour).
How to play
Players take turns to fire their pucks into the target area. Play continues until all pucks are used. At the end of the game the scores are added up and the winner announced.
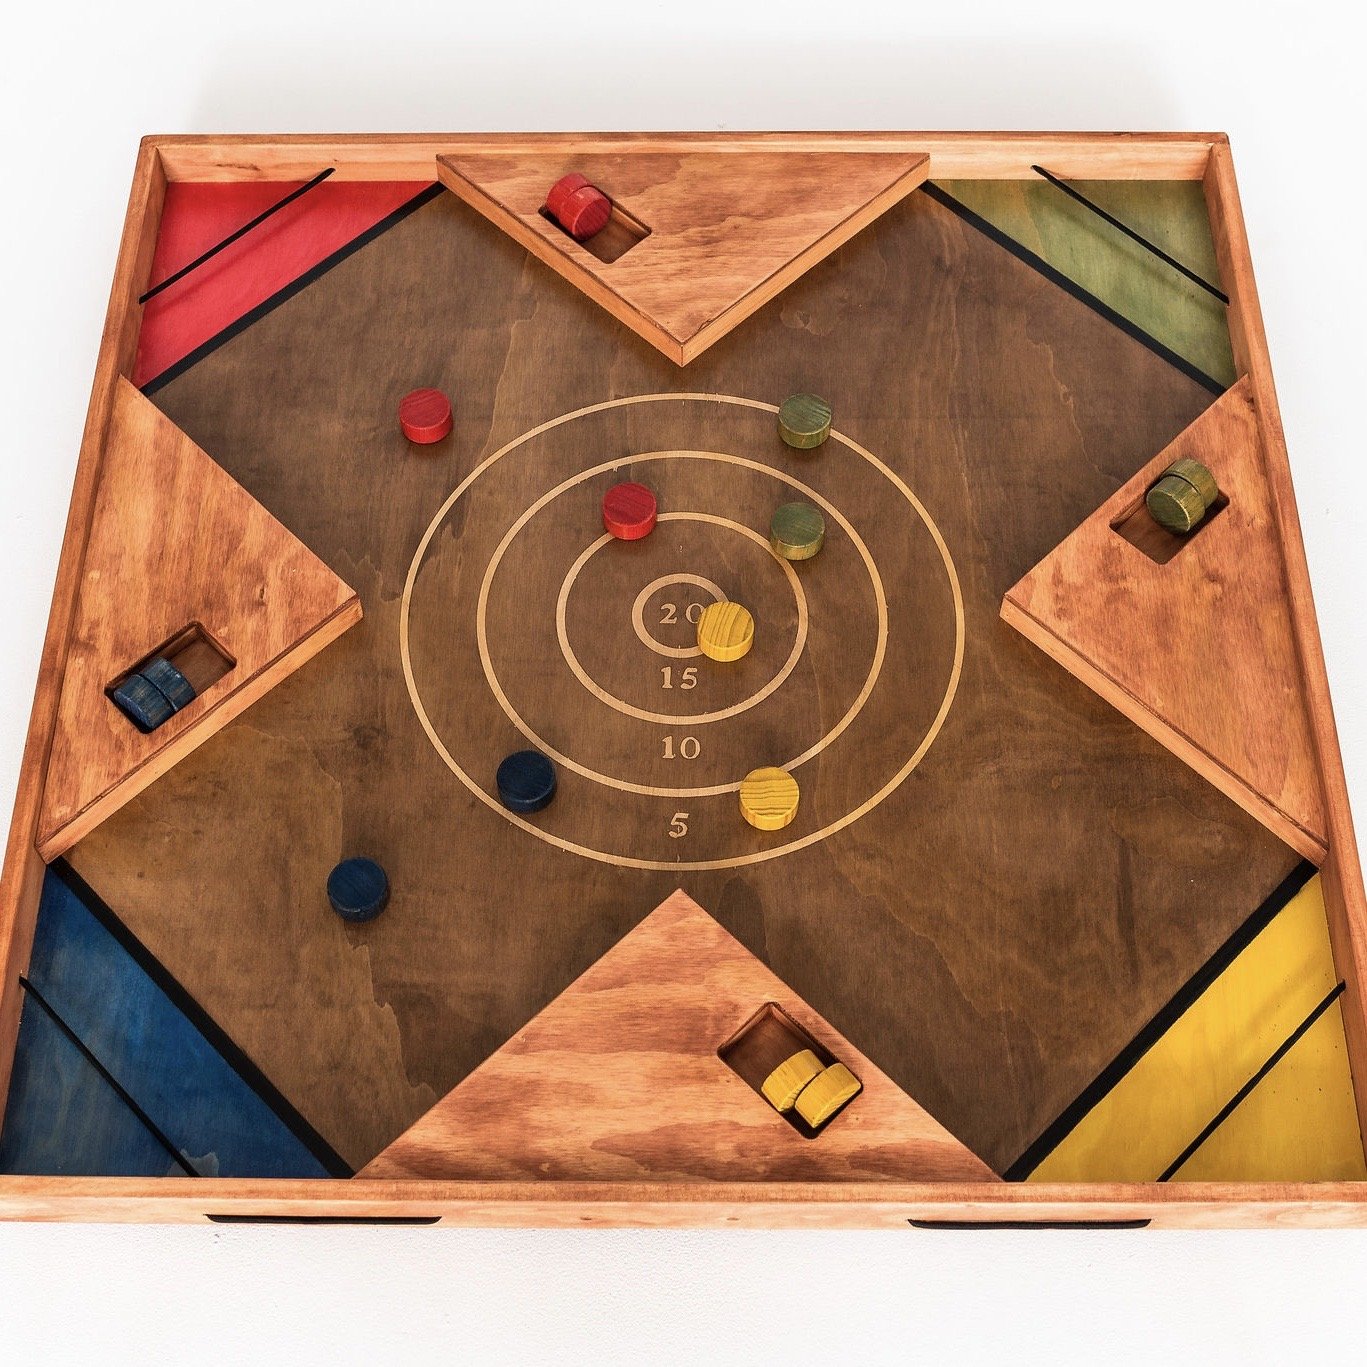
Birds eye view
What we love about this game
This game is instinctive to learn and can be played by all ages. No complicated rules mean it can be a relaxed and sedate party game that has a wide appeal.
The strategists and highly competitive amoung you will be revealed as they try to knock their opponents pucks out of the way.
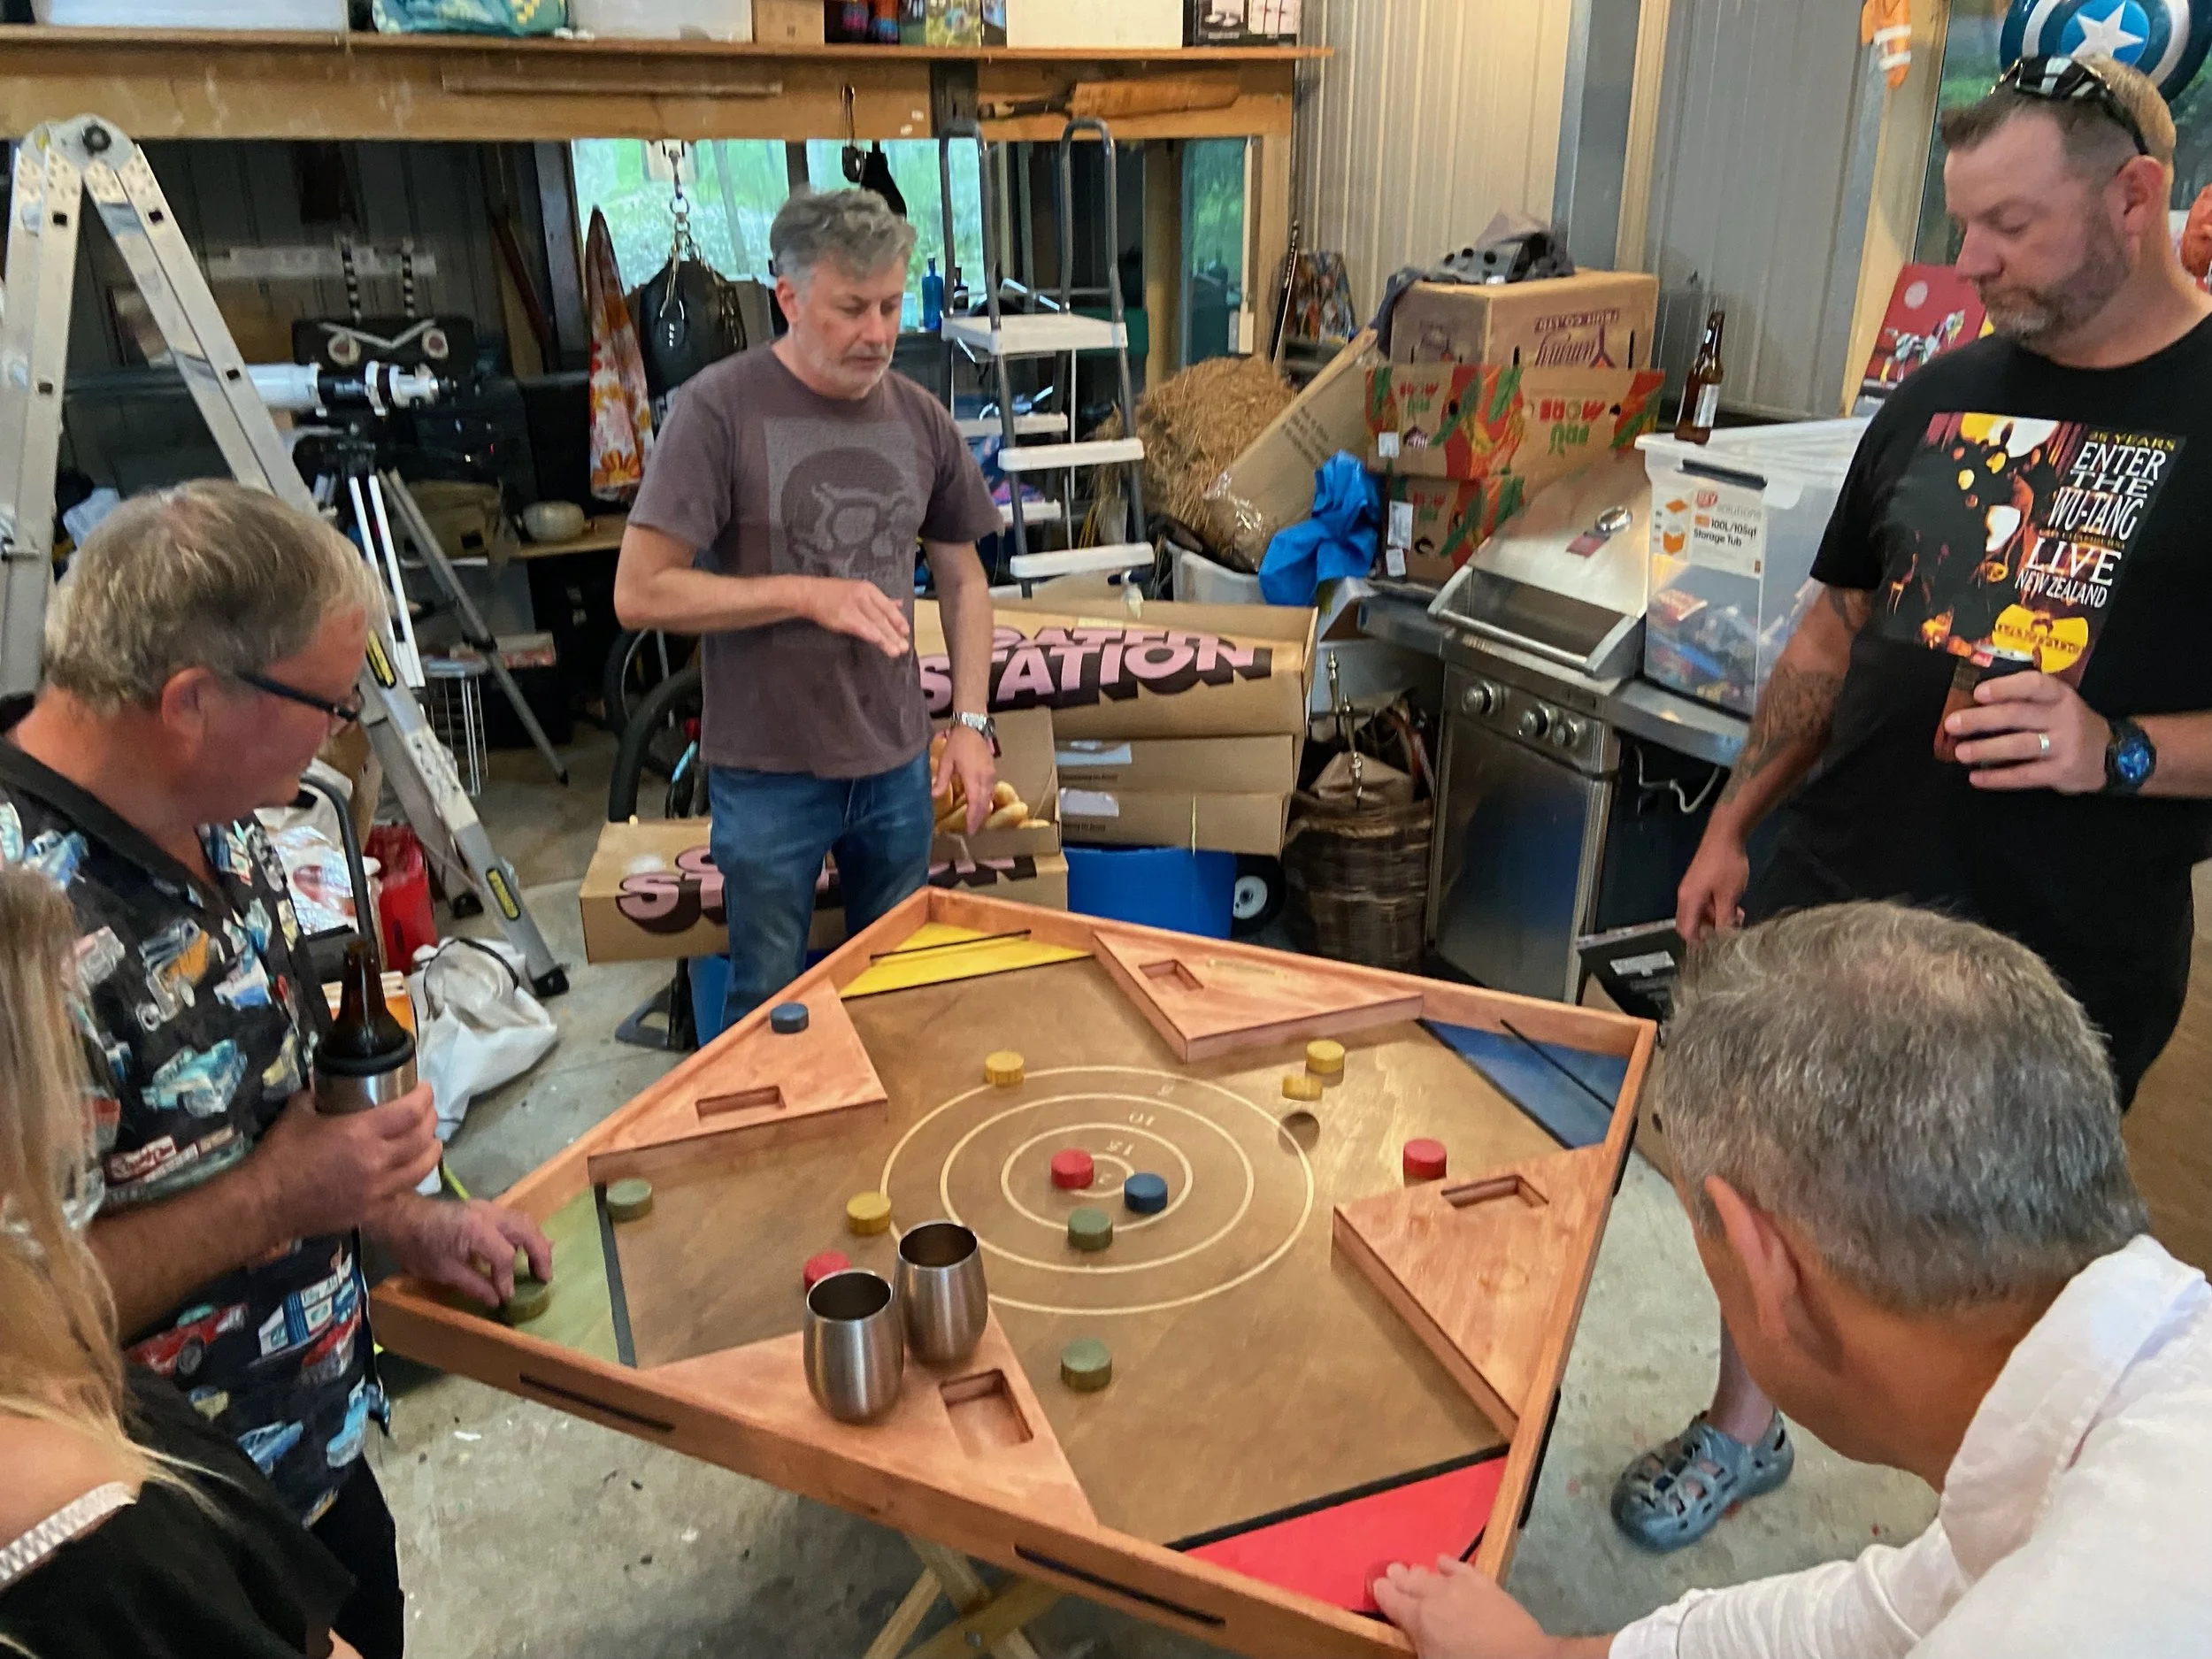
Games night
Star features
timeless design and quality finish
slim, lightweight, with folding detachable legs for easy transport and storage
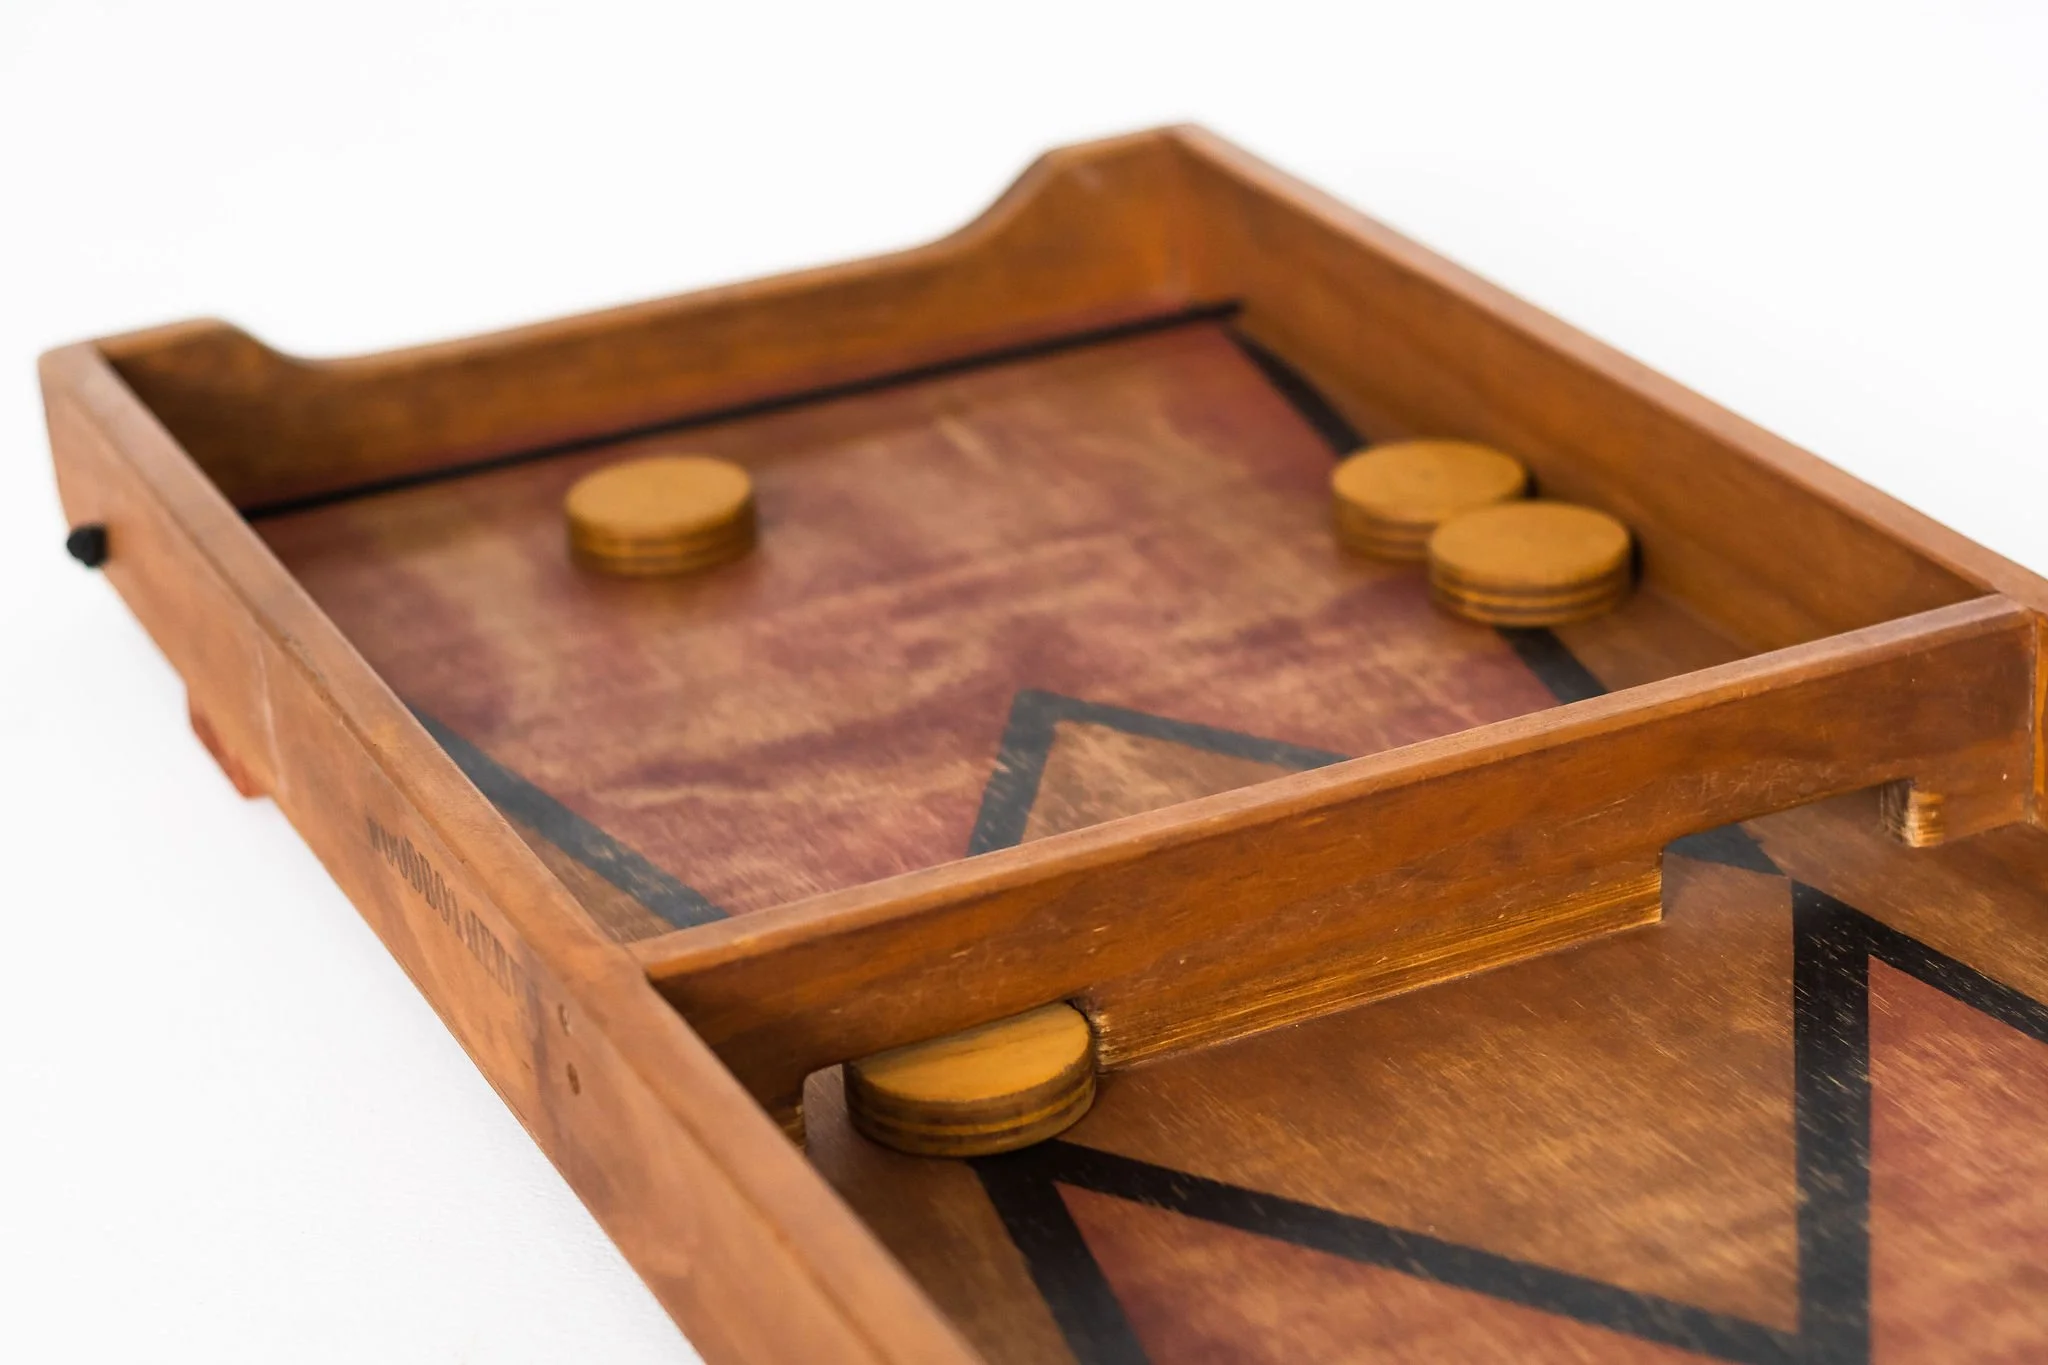
inbuilt pockets for pucks
recessed cavity housing for the elastic bindings
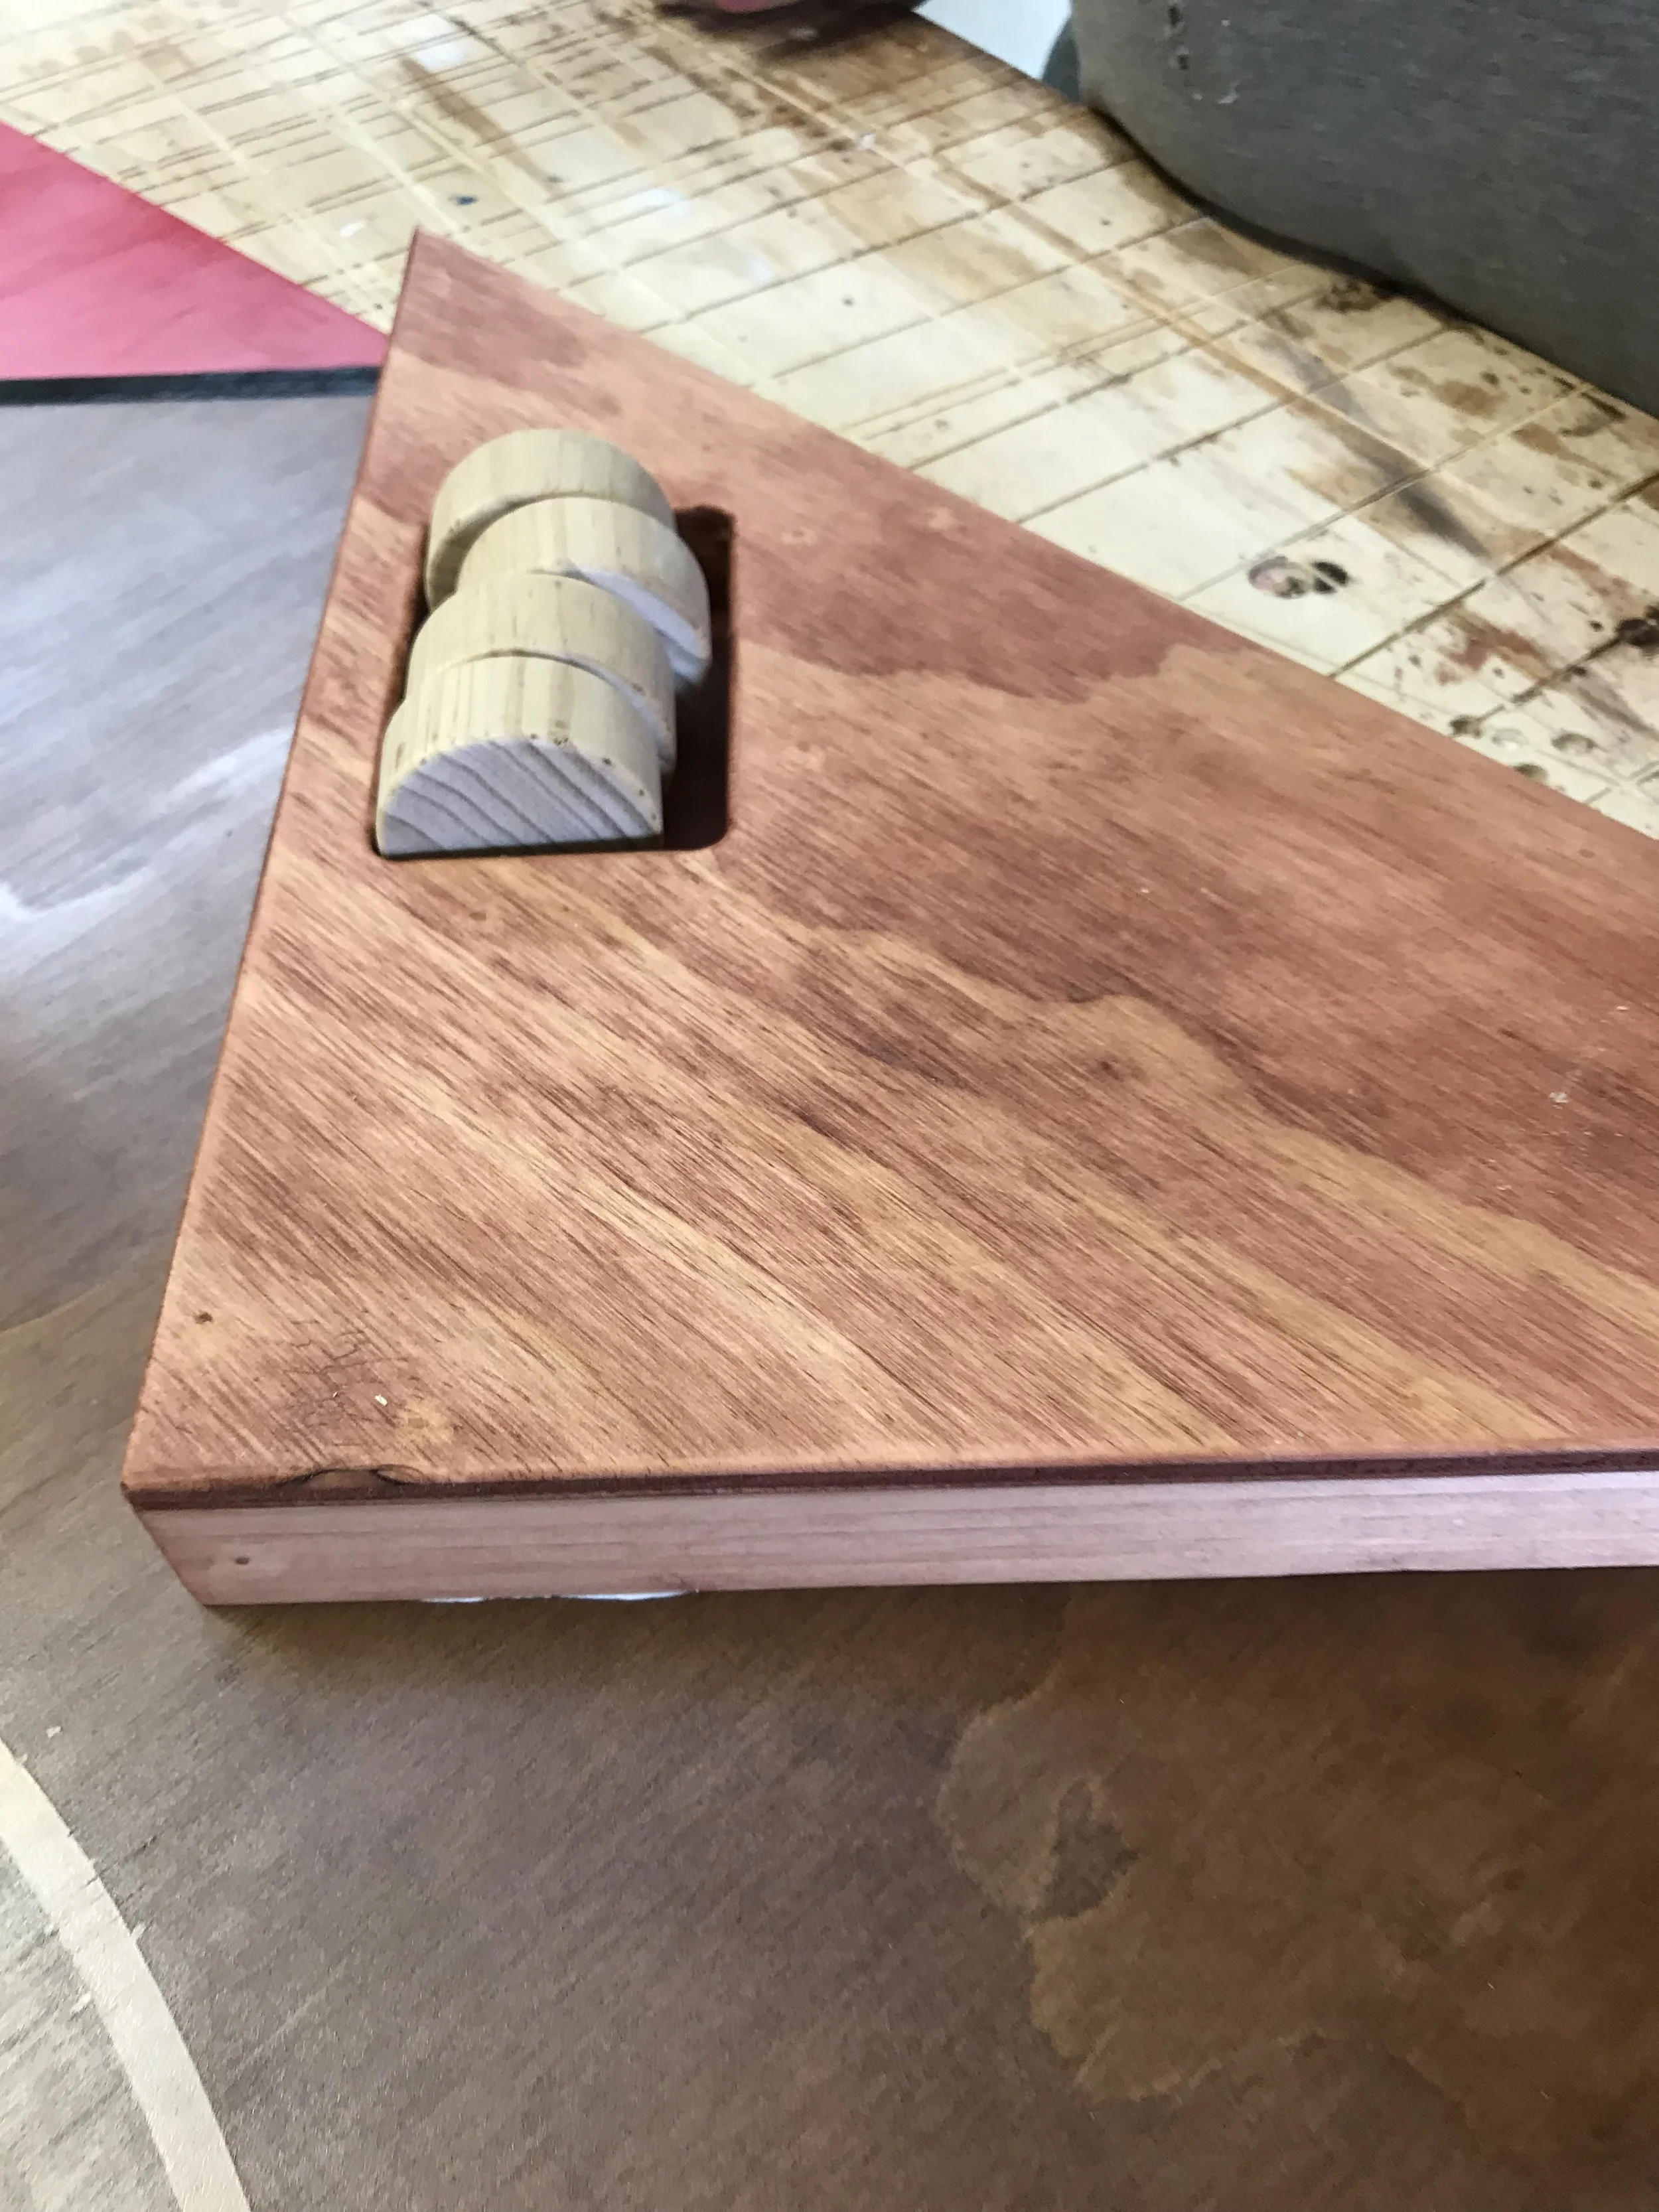
Recessed pockets for pucks
Woodworking skills
This is an intermediate level woodworking plan. Skills such as using a bandsaw, jigsaw, and a router (if you have one) will be needed.
Additional skills covered
Marking out with a trammel with instructions how to make one
Creating a design with resist to add numbers and details to your woodwork
Tips for getting a great finish
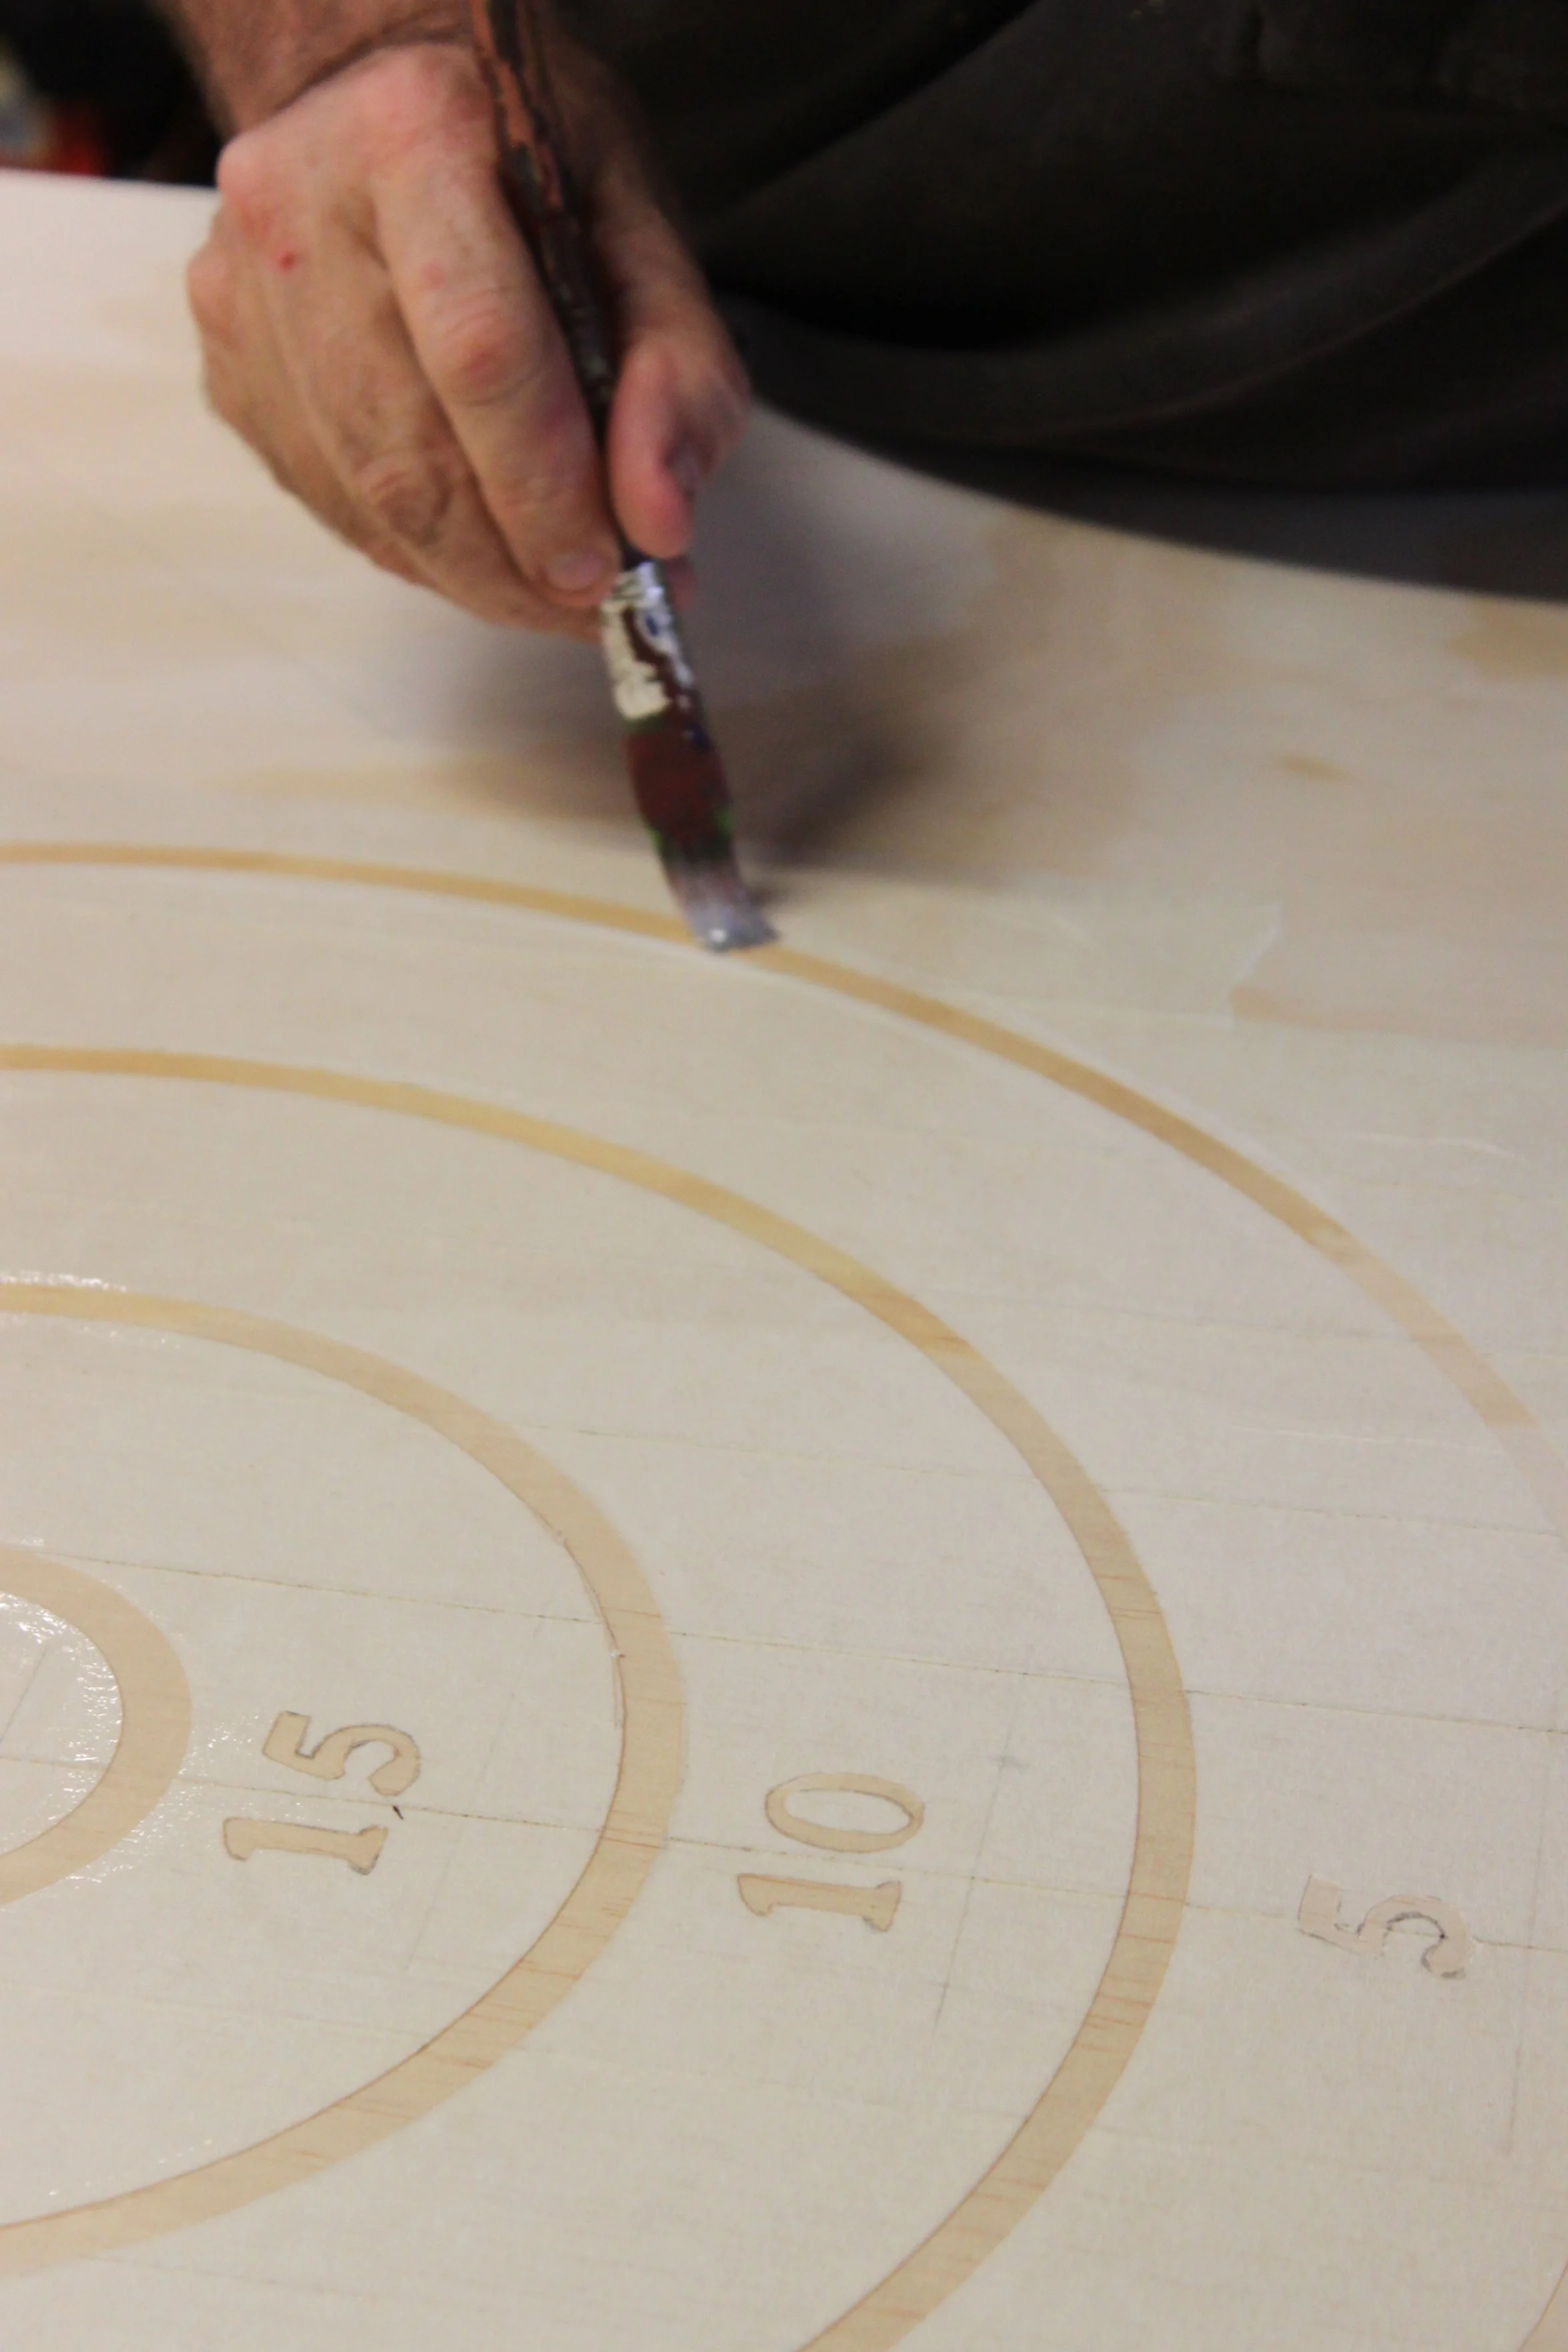
Resist technique
Tools required
Router
Saw
Sander
Sandpaper
Let’s go!
I hope you are feeling inspired to start your next project. If you do have any questions or comments please contact us here